Okay, let me be clear about this. I have never been a fan of the whole put-chalkboard-paint-on-everything-that-will-hold-still-for-30-seconds trend. Can you say chalk dust overload?! Seeing as how I hate housework in the first place, I just can’t fathom why anyone would willingly add even MORE dust to their home.
HOWEVER.
I am a big lover of words. Especially words arranged in a powerful way. You know…like quotes…good poetry…inspiring scripture…the good stuff.
I also really love the look of brightly painted picture frames.
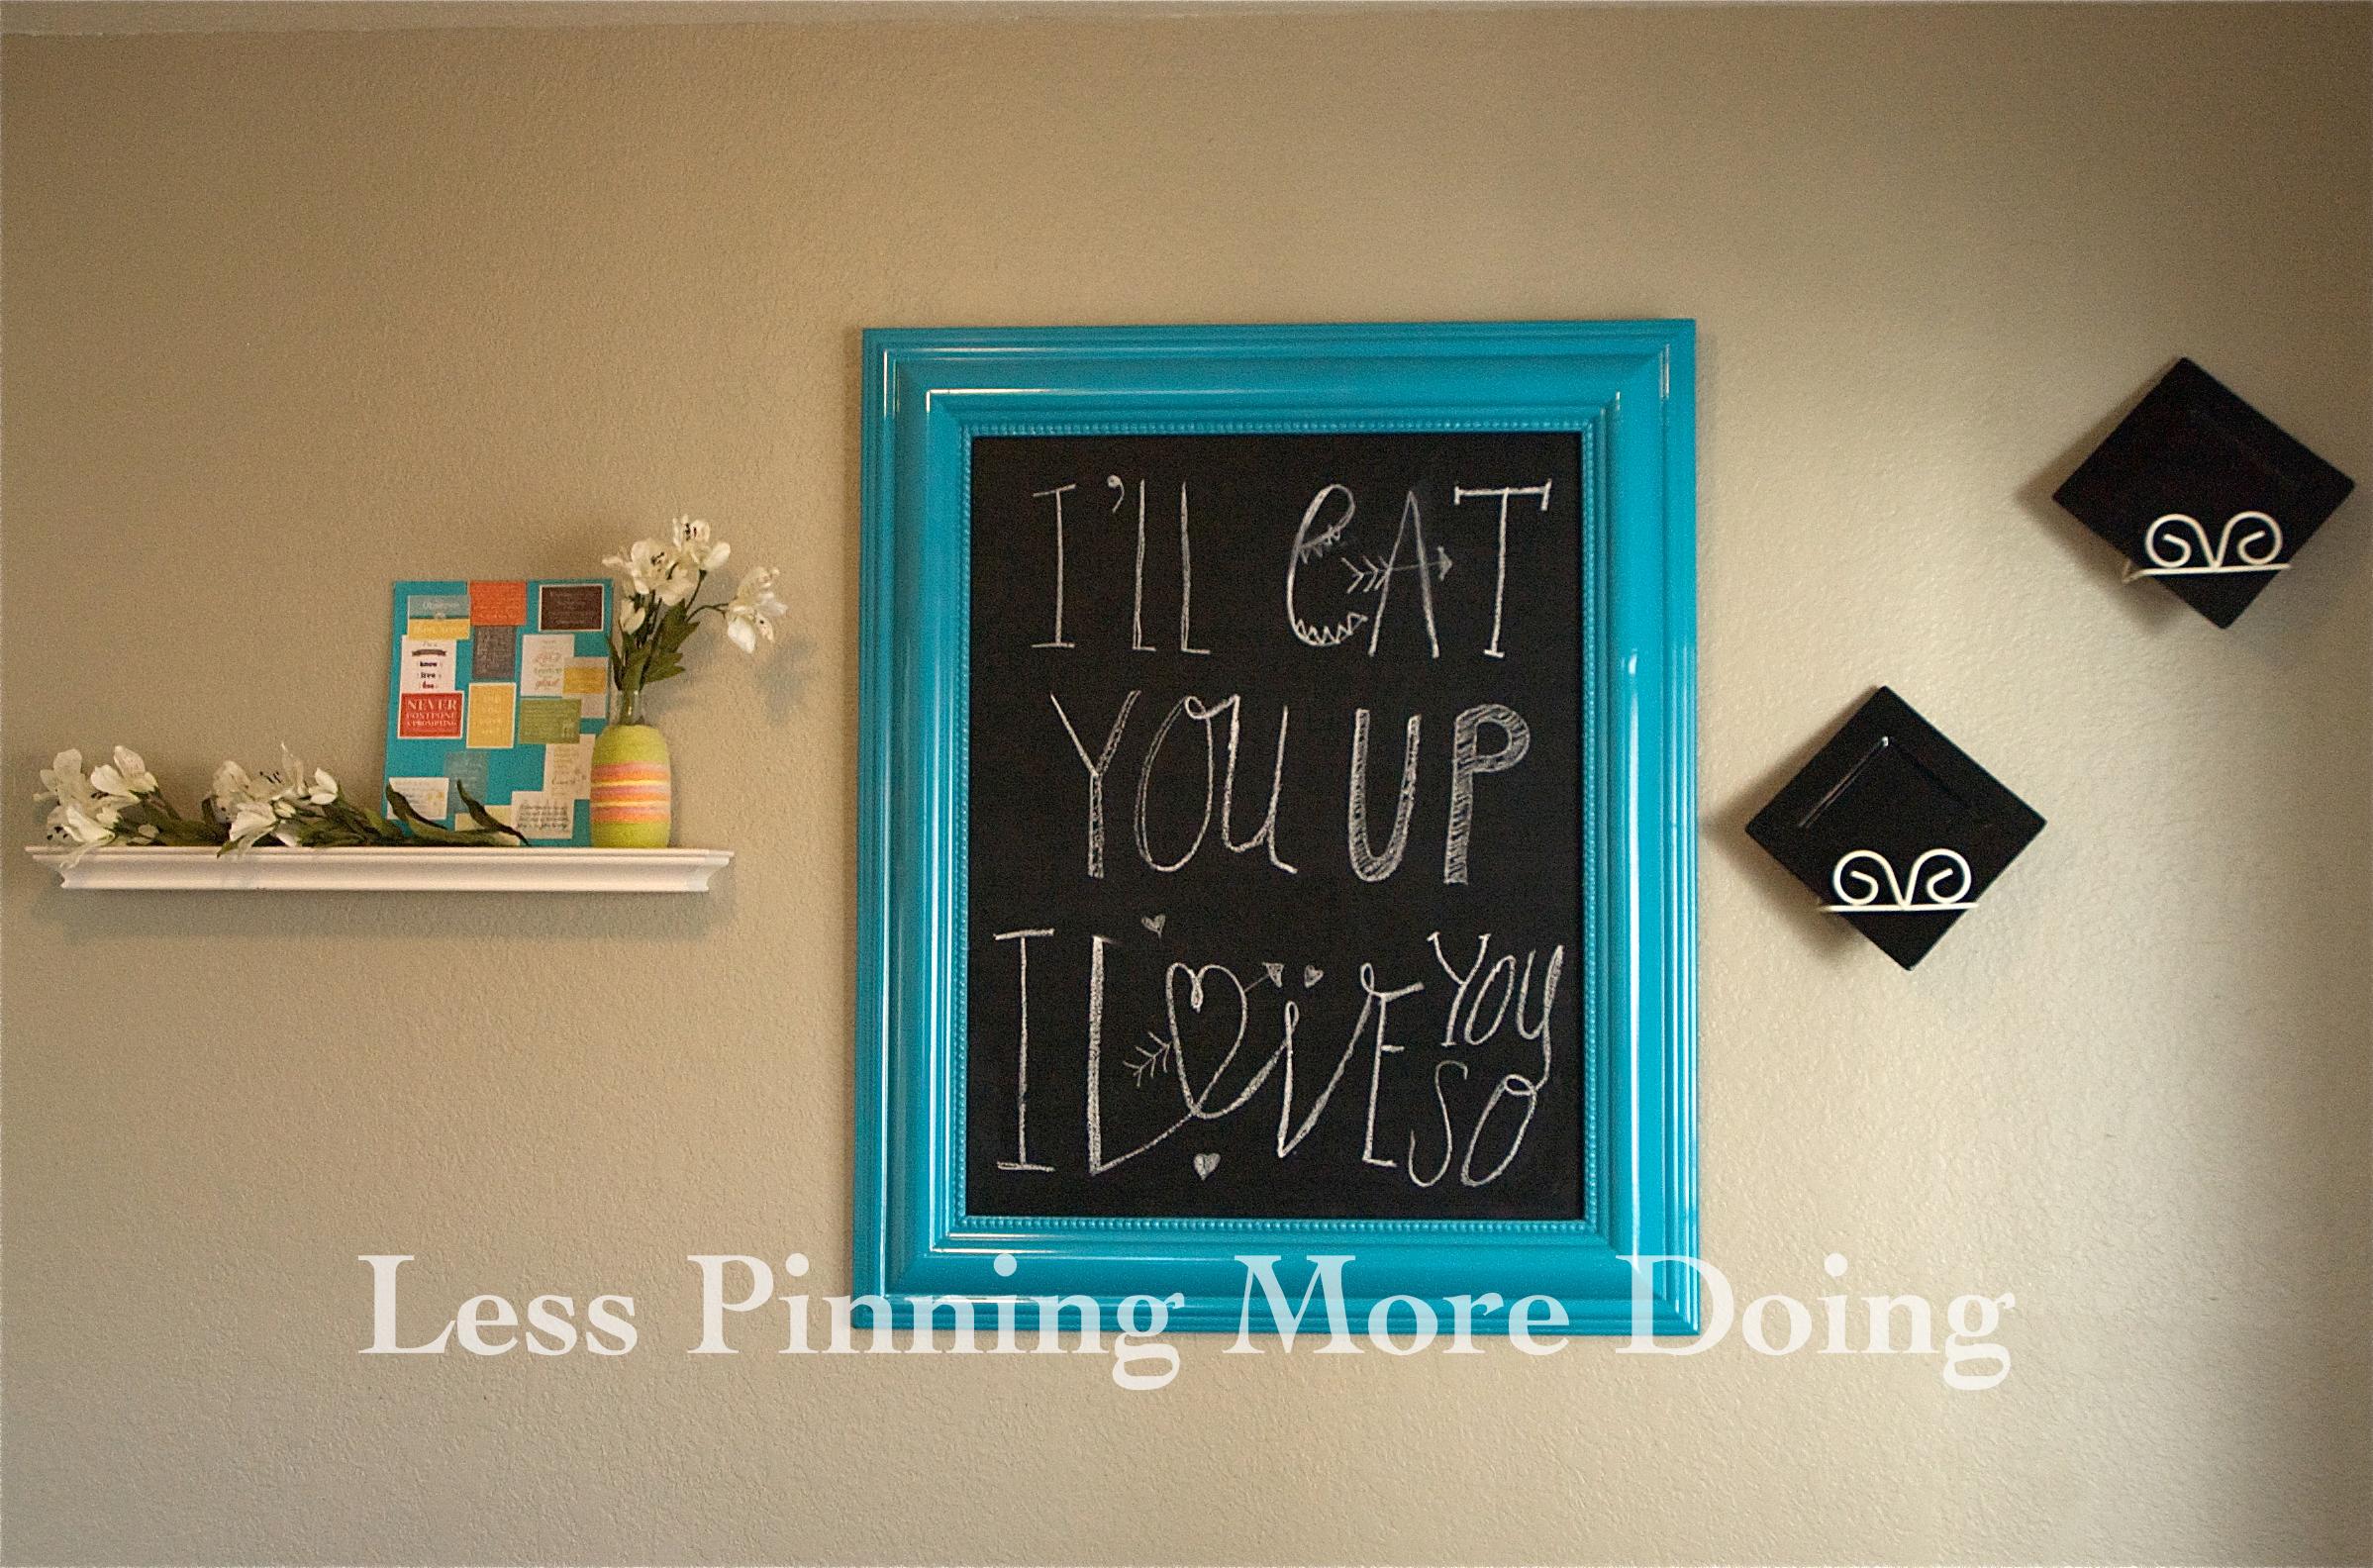
And at some point I kind of fell in love with the idea of having one really big chalkboard with a brightly colored frame where I could subliminally infuse my family’s minds with this good word stuff. ONE. And ONLY one.
So I set out on my journey to find a suitable big ol’ frame, which I found at a local thrift store. I cut an extra piece of particle board that we had to fit in the frame. {And by I, I mean my husband.}
I prepared the particle board by spraying it with some Rustoleum spray primer. I think I did 2 coats. Then I did about 3-4 coats of Rustoleum’s spray chalkboard paint in black. At this point, I swallowed my pride and admitted I was stupid for not sanding the particle board first. That stuff ain’t smooth, folks! I kind of thought the chalkboard paint would be thicker and kind of smooth things out a bit, but it’s not thicker than regular spray paint. Lesson learned.
So I let the paint dry for a couple of days until I could get back to it and pulled out my handy dandy sander and went to work. I think I was using 120 grit sandpaper on it. I went over it a few times until it was smooth *enough* for who it’s for {me} and called it good. It wasn’t perfect. As particle board, I don’t think it could be, but it would do.
Then back to painting I went. This time I didn’t prime it because it still had some paint/primer sticking to it and I’m lazy. I lightly layered on 4ish coats of chalkboard paint, alternating directions each time.
For the frame, I had to fill in one big gash with nail hole filler stuff and then I sprayed it with one light coat of primer. Then I put on 2 or 3 light layers of a Valspar spraypaint in a turquoise color. I’ve never used Valspar before, but I really liked it for the sprayer! My finger was not numb/sore afterward, which it usually is with the standard sprayers on Rustoleum’s cans. Overall, I was pretty impressed with it!
To attach the chalkboard to the frame, I used an epoxy that I found at Walmart. I don’t remember what it was called, but it seems to have done the job. Used a picture hanging kit to attach hanging wire to the back and put it up on the wall! Overall, it was a pretty simple and rewarding project.
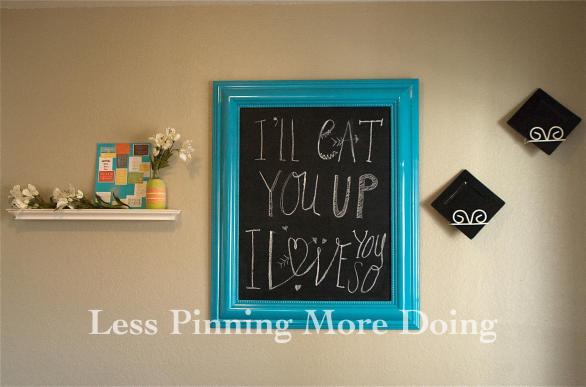
Next to go will be those black plates. I definitely need something brighter and more smile inducing there, don’t you think?
*This was my inspiration for the Where The Wild Things Are quote shown on my chalkboard.
~So what trendy bandwagon have you jumped on that you swore you wouldn’t? Share in the comments! I LOVE comments!~